

This Animoto review has been updated to reflect that they now have a free plan with all the bells and whistles. The only difference is it embeds Animoto branding on the video. Read on, friends!
At RootsTech, my writing partner Rachel Trotter and I taught a class on the easiest video tools, especially featuring Animoto and Adobe Spark. It was a packed room of several hundred people and based on the follow-up interest, here is a detailed Animoto Review. Since I first started using this tool, I have made over 100 Animoto videos: some personal, some marketing videos, some family history videos for clients, and some tutorials. So, if you want to make family history videos, promo videos for your small business, slide shows from vacations, or videos to honor special events, this Animoto review will help you decide whether this is the right tool for you. I also outline the process I use. If you want a pep talk on why video matters and how to involve young people in the process, check out this related article: Children, technology and family stories = magic
Affiliate disclosure: Animoto paid me small stipend for my time to post a review, although this article goes way beyond a typical review. Also if you sign up using one of the links in this article, I will make a modest commission. I was free to say whatever I wanted, and this is an honest review–I love Animoto!
Animoto “democratizes video”

This Animoto review is not intended for the video expert, although even pros with advanced skills can use a template from time to time. Rather, I’m writing for people like me who want to make pretty videos without spending a crazy amount of time. In the past year, I have made over 70 videos using a variety of tools (most in Animoto) so this article is based on a lot of hands-on experimentation.
As back story, I was looking for a video tool because before finding Animoto, I did not have much experience and was feeling down-in-the-dumps after monkeying around for many hours on some slide shows, only to produce a lousy product. All that time was wasted. So, when a friend introduced me to Animoto, my thought was: Baby, where have you been all my life?
At RootsTech 2018 we interviewed Beth Forester from Animoto, who told us that the company’s founders created it to “democratize video,” in other words, to make video-making accessible to average folks like you and me. The founders have credentials including MTV and other big production houses. I think they’ve done a brilliant job.
Animoto is browser based, no software to download:
You get started with Animoto by creating an account online, then you use it online with your browser. This means it is always backing up and you don’t lose your work if it crashes. You do not have to download any software and a fast computer is not required. That was a big benefit to me because my laptop is 6 years old and crashes with other video processing software. The videos and your photos are all stored there in the Animoto service until you are ready to download or share the finished product.
Animoto’s subscription pricing plans
Animoto is a subscription-based service with a monthly fee. This allows you to make an unlimited number of videos, use their beautiful templates and access the songs in their music library. That matters because you can run afoul of music copyright laws if you grab songs from your music library and upload the videos to social media.
Three plans:
- Animoto free: Animoto has recently launched a free plan! It has ALL the standard features offered on the professional plan but simply requires you to have Animoto branding on your final product.
- Animoto Professional Subscription: $22 per month for an annual plan. Click here for 10% off an annual plan.
(Note: there is a third “Business” level, but I doubt you’ll need it so I am skipping that. I have the Pro plan). - Team – which allows up to three users and licenses to resell to businesses.
Click on this Animoto code for 10% off one of the paid plans.
Disclosure – Evalogue.Life makes a commission if you sign up for Animoto using the coupon codes or Amazon links on this page. I really appreciate it if you do! Please know that I reached out to Animoto after using it for a year on my own paid subscription. I truly love the product.
Here is a screen shot from the Animoto website showing pricing:

My Animoto review in a nutshell – Thumbs up for pretty templates and easy interface
The main reason I love Animoto is their artistic templates and how easy it is to us. Their designers create gorgeous layouts with movement between slides. All of that is pre-built and you just drag and drop your content. Presto! Your video looks pro. Not only does it make the process slick and easy, but it avoids having your hard work turn out amateur. (As back story, often when I try to design something, it just looks off. Back in the day when my friends were making scrapbooks that were works of art, mine looked like construction paper and Elmer’s glue. I don’t have the gift, folks).
Screen shot of some Animoto templates: 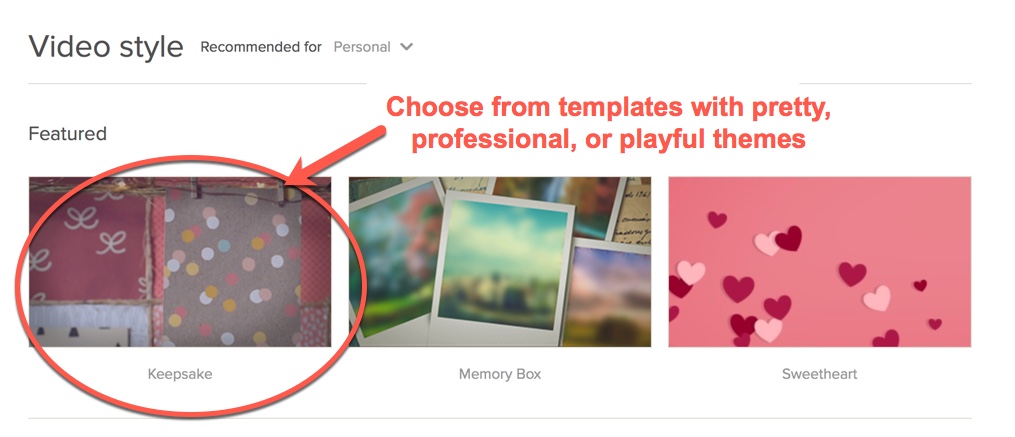 My 6 steps to create an Animoto video
Step 1: Create an online account
It only takes a minute to sign up. It bears repeating that this is a browser-based program so you don’t have to install any software and it will not hog the resources on your computer. Their servers do all the heavy lifting. That was a big selling point for me.
Step 2: Draft a storyboard
I hope you will take my advice to draft a storyboard because it will save time and your video will be more compelling. Why? Because a storyboard encourages you to be intentional about the story and more concise: What is this about? What message do you want to convey?
That said, if all you want is a slideshow about your vacation, you may not need much advance planning, or if your video features just one long video clip without much editing. However, I still argue you are wasting an opportunity if you do not organize it into a narrative. Story is your hook!
Step 3: Choose your Animoto template, master colors and format
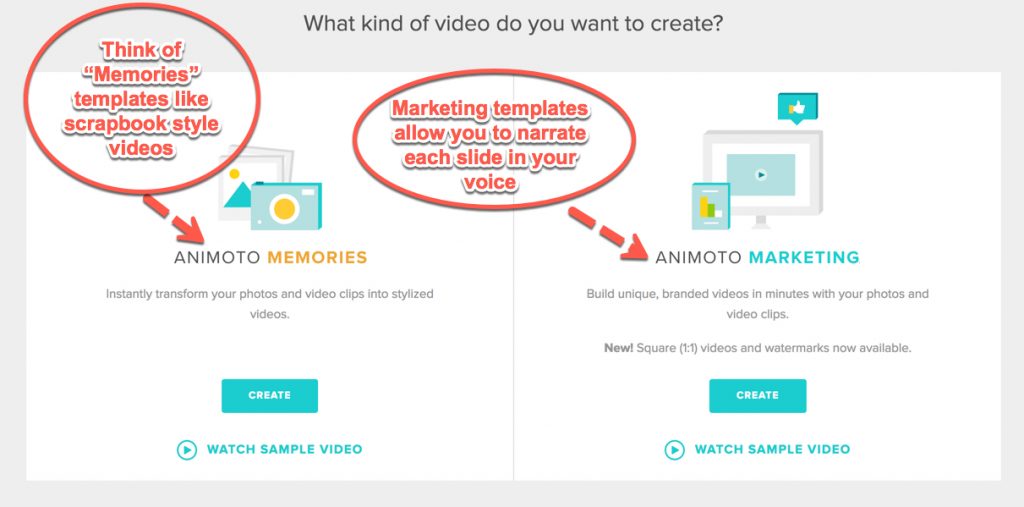
Decide whether you want a scrapbook style video without voice narration or whether you want to narrate each slide. For voiceover or to have the option to select square vs. landscape videos, choose a template from the “marketing” section. For beautiful templates that are more like animated scrapbooks, choose a template from Animoto’s “memories” section. In marketing videos, you can choose master colors and fonts, and select universal font sizes. There are not as many custom custom options in memories templates because there’s a lot more animation programmed in. This can be great if you love what they did, but frustrating at times if you want to customize something.
A note about square vs. landscape formats: Choose landscape if you will be uploading to YouTube, showing onscreen, etc. If your primary purpose is Facebook, then go with square. For Evalogue.Life videos, we usually end up creating duplicate versions: one that works best for each platform.
Step 4: Combine images, video clips, captions and music
Next you need to decide which photos and video clips to use in your video and gather them together. Here is an overview of the process.
Gather your photos and video clips:
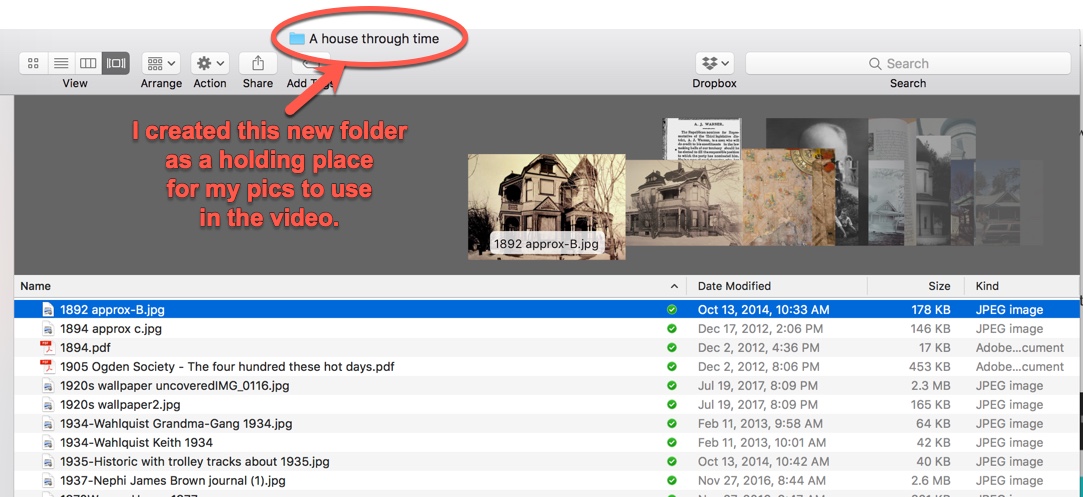
- Create a new folder on your computer or a flash drive to use as a holding place for photos and video clips.
- Go through photos on your computer, phone or printed albums and decide which ones you think would work well. (Note that video clips can be up to 20 minutes, and you can trim the video clips right in Animoto. In contrast, Adobe Spark only allows each video clip to be up to 30 seconds long. This is one reason to pay for an Animoto subscription instead of just using the free version of Adobe Spark.)
- If you need to gather historic photos, stock images, b-roll, etc., watch my quick video sharing 5 tips of media resources we use to create videos at Evalogue.Life. Click here to watch on YouTube.
- In your new folder, save duplicate copies of all the digital images you identified.
- If you do not have everything digitized already, you will need to do some scanning or sending pics out for professional digitization. I use my ShotBox a lot at this phase. A shot box is a slick, portable light box for taking high-quality images of photos, documents or heirlooms with a camera phone or iPad. If you want tips on how to digitize, check out this article.
Screen shot showing the folder I created for my video
Step 5: Create your slides
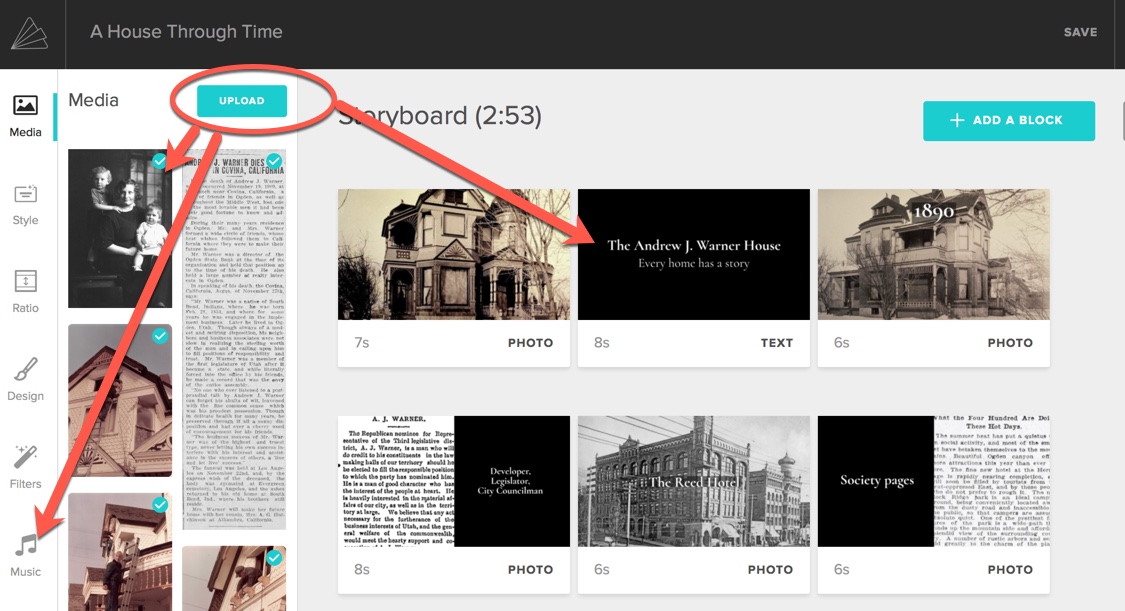
See the screen shot below for a visual of how the next step works. Once you have pulled together your pics and video clips in your folder, upload or drag and drop the images from your folder into Animoto.
Next, you create custom slides in the Animoto template. Add text, narrate, and experiment by rearranging the order. Your finished videos have the most visual interest by mixing up photos, video clips, music, and text.
The Animoto template makes it easy to create slides, rearrange them, write captions, and piece the storyline together. You can also change the length of each slide. (Note: if you are doing voice narration as described below, the timer automatically matches to the length of your audio on each slide).
This process is a lot of fun, and involves experimenting with the order, wording and design elements. You can preview your video any time you want.
Screen shot of dragging and dropping within the Animoto template:
The template automatically makes the whole video aesthetically pleasing with movement and transitions. In more complicated video software programs, it takes a lot of time to stitch these elements together, and you run the risk of it looking hokey.
At this phase, you will inevitably think of other photos you or video clips you want. In other words, once you get started editing, you will probably think of ways to make your video even better. Here are some suggestions:
- Make a fun time lapse video clip using your phone’s camera. Time lapse works well to show “how to” or create a visual scene.
- Find free historic stock video footage or photos from Archive.org
- Pull public domain images from the New York Public Library
- Find royalty free photos from Unsplash.
That said, these suggestions are if you have time to burn. When on a deadline, I have whipped out slideshow videos in about an hour, start to finish.

Step 6: Decide if you want voice narration
If you are not sure what I mean about voice narration, here is an example of a video I created using my professional subscription of Animoto. I narrated right within each slide of Animoto:
Narration option 1: Use video clips with people talking
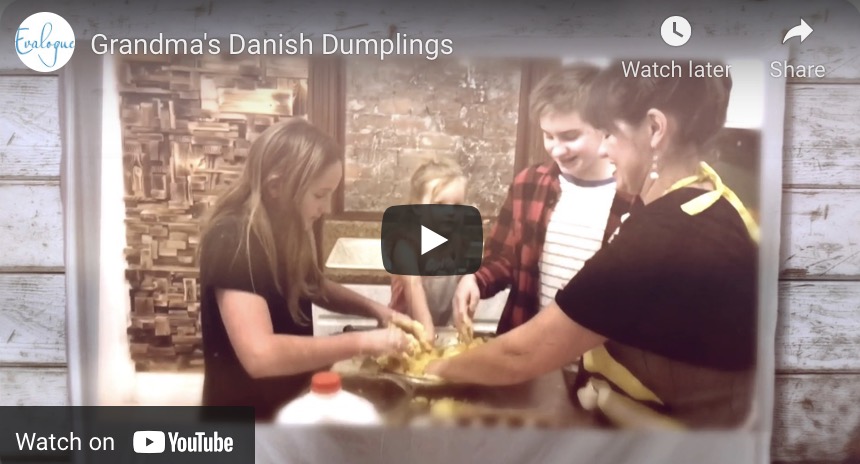
Are you using video clips that already have people talking? This video of my grandma’s Danish Dumplings is an example using the personal plan. It incorporates video clips that have people talking and no formal narration.
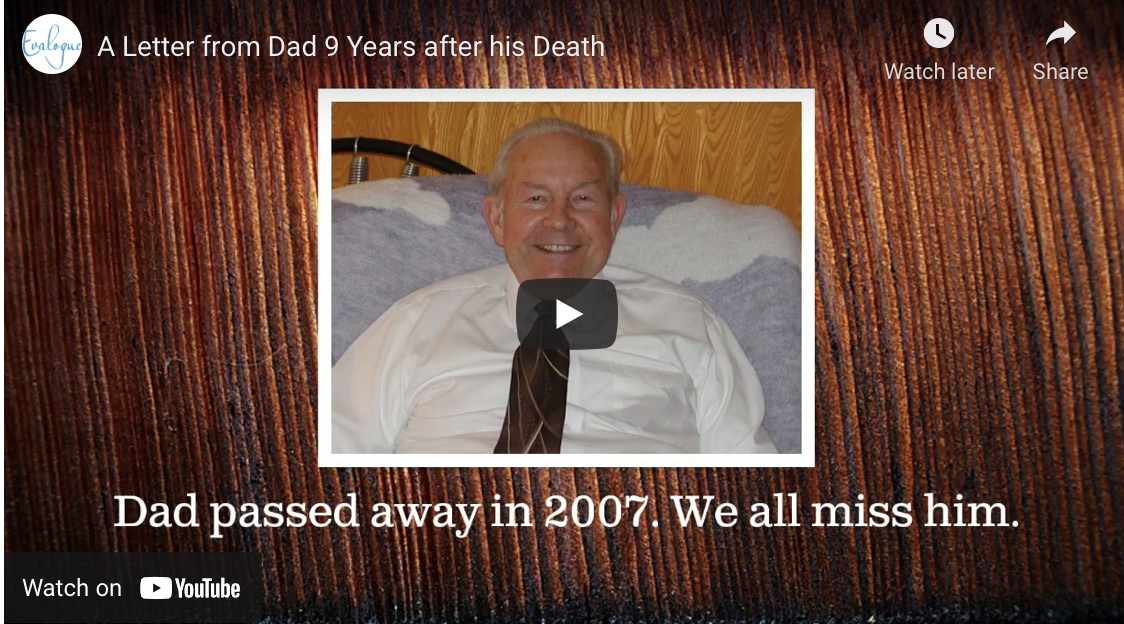
Narration option 2: Use an oral history audio recording
Do you have an oral history audio clip you want to use? You can upload an audio track instead of choosing one of the songs in their music library. This is a good option if you have the personal plan. Click here to see a video I created by uploading an oral history audio track.
Related article: 12 tips to record voice, edit, save, and transcribe audio
Narration option 3: Narrate a script in your own voice and upload it
You can record yourself speaking a script into a digital recorder or with a recording program on your computer. Then, you can upload the audio file instead of a music track. This is the same process as if you are uploading an oral history audio file. Technical note: If you subscribe to the personal plan and it is your heart’s desire to have both a voice track, and music, there is one more workaround. You can export your finished Animoto video into another program like iMovie and overlay a music track on top of it. It works, but is a bit of a pain. How to do that is beyond the scope of this article.
So, in summary, if you really want voice narration, your best options are to pay for the Animoto Pro plan or use Adobe Spark.
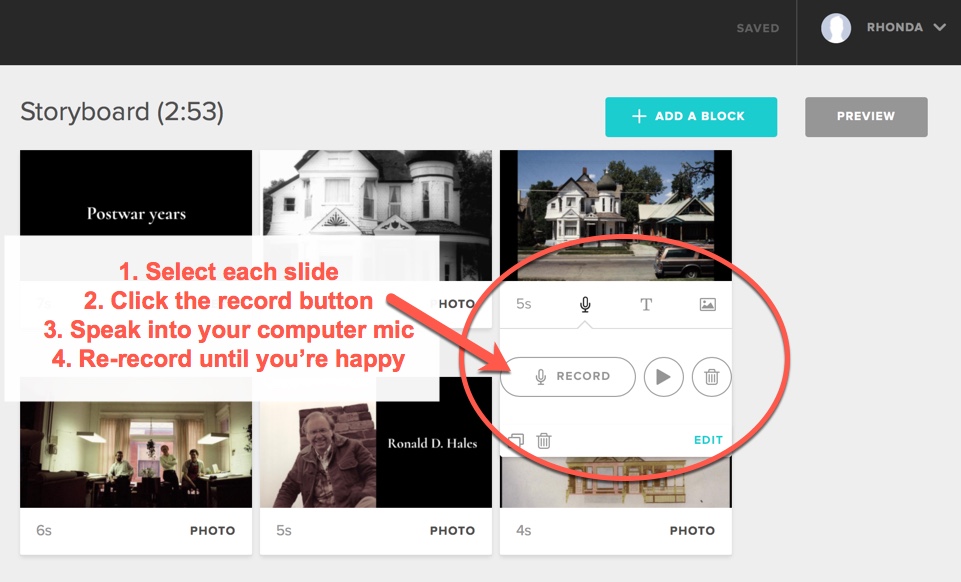
Narration option 4: Narrate each slide in your own voice
If you want to narrate each slide, you can choose one of the marketing templates (available now in both the personal and professional plans). Below is a screenshot that shows how to narrate each slide right within Animoto. It is a super slick process because you don’t have to upload audio files, and you can record each short clip as many times as you want. I like breaking up the narration into short chunks because it is impossible for me to do a 3-minute narration flawlessly from start to finish.
Screen shot showing how to narrate with your own voice directly in each Animoto slide:
 Step 7: Save and Share your Animoto video:
 Step 7: Save and Share your Animoto video:
You can preview your video as many times as you want while you work. I usually preview it with different songs found in Animoto’s free music library until I am pleased with the mood.
Oh, and as a rule of thumb, keep all videos under 5 minutes and less than 3 minutes if you can! I always do a lot of editing to trim the fat. This means deleting slides and paring down the text. People’s attention spans are short and they will not watch a long video. You are much better off to make three short videos than one long one.

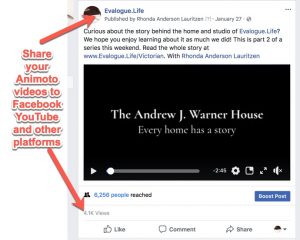
Once you are finished, you can save the video file to your computer’s hard drive, or a cloud service like DropBox or Google Drive. Now, share it on social media like FaceBook or YouTube. I highly recommend creating a FaceBook closed group for your family so your family can watch videos and comment without it being public. How to interact with social media is a topic for another day, but Animoto does make it easy to share.
The important point is that you own the video files and can use them however you want. Animoto has no right to use or share your videos.
Notes: I’ve fixed early technical frustrations
I’ve had some glitchy issues using the voice narration feature with Apple’s Safari as my browser, requiring me to refresh the browser a lot. The Animoto tech support folks suggested I use Chrome as my browser instead. I tried it and it works great. Also, a while back I had some problems recording my voice and having it sound too digital, even though I was using a high end Blue Yeti microphone. I upgraded my cords and played with the “gain” and now my narrations sound great. Another lesson learned is if you go back and record edits to a video, be sure your microphone is the same distance from your mouth as it was before, and that your input volume settings haven’t changed. Otherwise, the sound can be louder or softer from slide to slide. Again, that’s a technical issue on my end that I’ve learned to overcome.
Animoto review – Did I miss anything?
I hope you found this Animoto review helpful. If anything was unclear or you have questions, leave a comment or message me.
Give Animoto a whirl and let me know if you have need some help. Oh, and if you would rather hire someone, we make family history videos for clients all the time. We would love to help make your video or give you some one-on-one training. Contact me!


Rhonda Lauritzen is the founder and an author at Evalogue.Life – Tell Your Story. Rhonda lives to hear and write about people’s lives, especially the uncanny moments. She and her husband Milan restored an old Victorian in Ogden and work together, weaving family and business together. Check out her latest book Remember When, the inspiring Norma and Jim Kier story.
Disclaimer: This page contains affiliate links which means if you purchase some of the products we mention by using our links, we make a commission. Be assured that I’m only sharing the methods I actually use, but I do appreciate when you buy with my links because it helps fund articles like this one.
Questions Everyone Should Ask

Don't have regrets. Preserve a life story now with our all-time best questions. Interview a loved one or prompt your own personal history. Do it now, and it will be enough.

Pingback: Animoto and Adobe Spark Video - 10 ideas - Tell Your Story with Evalogue.Life